There are many reasons why you’d want to reset your MacBook Air to factory settings. Perhaps your Mac is showing just a too much little lag. Maybe you want to reset for better overall performance, are thinking of giving away or selling your MacBook after you purchase or receive the latest Mac model. For whatever reason, you need to set your Mac back to its factory defaults.
Since our Macs hold so much of our personal and private data, it’s imperative to clean out our machines when selling or giving away our favorite older Macs. And it’s particularly useful for the new user to have a nice clean machine that’s returned to its native factory state.
At the command line, environmental variables are defined for the current shell and become inherited by any running command or process. They can determine anything from the default shell, the PATH, the users home directory, to the terminal emulation type, current working directory, where a history file is located, language and localization settings, and going further to include shell variables, which include everything from customizations to the bash prompt, colorized ls output, and changes to terminal appearance, to aliases, and much more.
Let’s walk through how to list environment and shell variables, and then how to set and add new environment variables at the command line of Mac OS X.
Displaying Current Environment & Shell Variables in Mac OS X
To quickly get a list of environmental variables, you can use the following command:
printenv
If you want to see a complete list of shell variables, the ‘set’ command can be issued as well:
set
The output of these commands can be lengthy so you may wish to pipe the output through the less or more commands. Lire la suite…
The excitement of installing a new version of macOS, especially if it’s a High Sierra 10.13, is only tempered by the possibility of it not working properly or not being compatible with the apps you use most.
Before you begin upgrade to MacOS make a bootable backup
If you haven’t started the process of upgrading yet, check if the Mac is compatible with macOS High Sierra and make a bootable backup.
Do it now, before you do anything else. If things go disastrously wrong at least you’ll be able to boot from macOS’ Recovery partition and migrate all your data back to your Mac. You can use any backup tool you like – Apple obviously favours Time Machine, but you don’t have to use it. You can use, for example, Get Backup Pro, which comes with your Setapp subscription. Don’t have a Setapp subscription? Click here to sign up.
Common MacOS High Sierra Problems
While most new versions of macOS are relatively problem-free, it’s not unknown for users to have issues – particularly with a beta or .0 release. Thankfully most are easy to resolve. Here’s how to fix the most common High Sierra issues.
High Sierra Installer Won’t Download
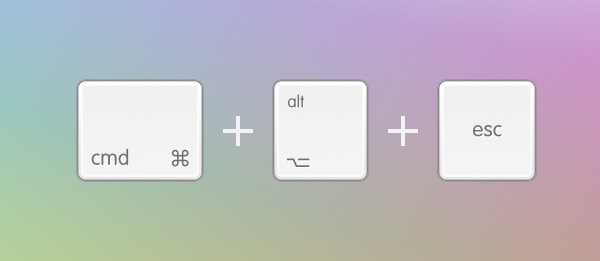
If you’re trying to download the macOS High Sierra installer, you’ll need to have signed up to App Store. If you’ve done that, and managed to start the downloading process only for it to fail, force quit the App Store app.
Press Cmd-Alt-Esc or go to the Apple menu and choose Force Quit.
Select the App Store app and confirm you want to force quit.
Re-launch the App Store and try downloading again.
Macos High Sierra Won’t Install
If the download completes successfully but the installation doesn’t finish, force quit the installer using the same procedure as above.
Restart your Mac
Launch the App Store app and go to the Purchases tab.
Find macOS High Sierra and click Install.
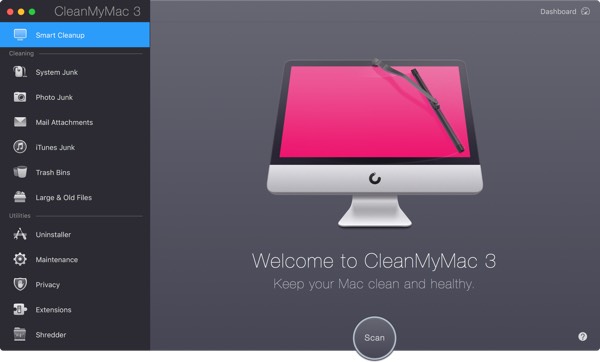
If that doesn’t work, try deleting the downloaded installer (it’s in your Applications folder) using CleanMyMac and download it again.
If you have a copy of macOS Server in your applications folder, that may be the root of the problem. Delete it and try again.
Si vous êtes l’heureux propriétaire d’un Mac, j’imagine que vous savez qu’en cas de problème technique, il est possible au démarrage de l’ordinateur de remettre à zéro certaines mémoires (PRAM, NVRAM) ou de partir sur un mode recovery.
Mais à chaque fois, ces raccourcis clavier à faire au démarrage du Mac sont une galère à retrouver. C’est pourquoi je vais tous les passer en revue ici et vous n’aurez plus qu’à bookmarker cette page pour la prochaine fois.
Pour utiliser ces raccourcis, vous devez d’abord éteindre complètement l’ordinateur, puis le rallumer, et immédiatement dès que vous avez appuyé sur le bouton d’allumage, maintenir enfoncées les touches suivantes :
Shift (maj) : Permet de démarrer le Mac en mode « safe ». C’est à dire en mode de base, sans toutes les applications que vous auriez pu installer au démarrage. Cela permet de savoir si votre souci est provoqué par une de vos applications ou par un processus propre au système macOS.
Option (alt) : Lance le gestionnaire de boot qui vous permettra de choisir le disque sur lequel vous voulez booter.
Command + R : Démarre en mode récupération (Recovery Mode). Cela vous permettra de remettre à zéro votre Mac, de réinstaller macOS, de restaurer une TimeMachine, ou d’utiliser la ligne de commande ou l’utilitaire de disques pour réparer ou formater un disque dur.
Shift + Command + Option + R : Lance aussi le mode Internet Recovery. C’est comme le mode de récupération décrit ci-dessus sauf que tout se lance à partir d’Internet. Cela permet de réinstaller macOS ou autre, même quand la partition de récupération est totalement HS.
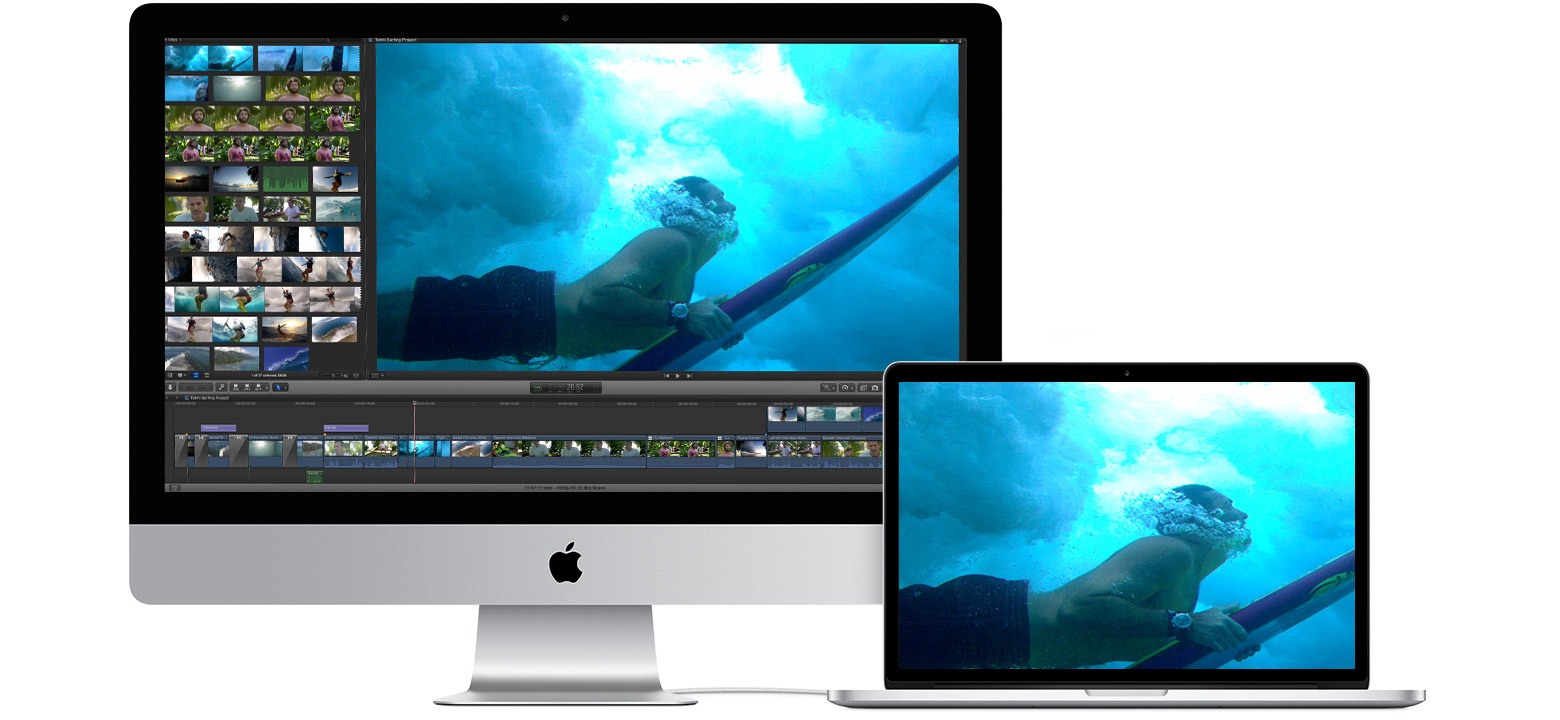
Le mode d’affichage cible permet d’utiliser l’écran intégré d’un iMac pris en charge en tant qu’écran externe pour un autre ordinateur Mac.
À propos du mode d’affichage cible
Pour utiliser un iMac en tant qu’écran, connectez-le à un autre ordinateur Mac à l’aide du câble adéquat (voir Configuration système requise ci-dessous). Appuyez ensuite sur les touches Commande + F2 du clavier relié à l’iMac. Appuyez de nouveau sur cette combinaison de touches pour mettre fin au mode d’affichage cible.