En parcourant pas mal de forums, j’ai pu remarquer que pas mal de jeunes admins ne connaissaient pas Rync.
Rsync est un petit outil de sauvegarde extrêmement puissant. Grâce à cette outil j’ai pu sauvegarder des centaines de giga-octet de données sans problèmes.
Rsync se charge en plus de garder tous les droits et attributs de vos fichiers et gère en natif SSH pour faire une sauvegarde d’une machine vers une autre. Lire la suite…
In this post I cover the basics of rsync, in preparation for a subsequent post that will cover backups and it’s use in conjunction with cronjobs to automatize the backup process. From the copying and synchronization of local files and folders, to it’s use for transfer information among computers. Itsuse as a daemon when SSH is unavailable was moved to it’s own section.
rsync is a very versatile copying and backup tool that is included by default in almost every Linux distribution. It can be used as an advanced copying tool, allowing us to copy files both locally and remotely. It can also be used as a backup tool. It supports the creation of incremental backups.
rsync counts with a famous delta-transfer algorithm that allows us to transfer new files as well as recent changes to existent files, while ignoring unchanged files. Additionally to this, the behavior ofrsync can be throughly customized, helping us to automatize backups, it can also be run as a daemon to turn the computer into a host and allow rsync clients connect to it.
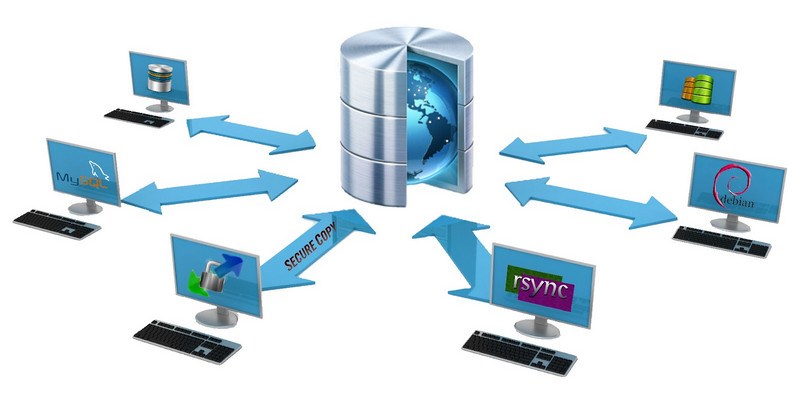
Besides the copying of local files and folders, rsync allow us to copy over SSH (Secure Shell), RSH (Remote Shell) and it can be run as a daemon in a computer and allow other computers to connect to it, when rsync is run as a daemon it listens to the port TCP 873.
When we use rsync as a daemon or when we use RSH, the data that is send between computers travels unencrypted, so, if you are transferring files between two computers in the same local network, this is useful, but this shouldn’t be used to transfer files over insecure networks, such as the Internet. For this purpose SSH is the way to go.
This is the main reason why I favor the use of SSH for my transfers, besides, since SSH is secure, many servers have the SSH daemon available. But the use of rsync as a daemon for transfers over fast connections, as is usually the case in a local network, is useful. I don’t have the RSH daemon running in my computers so you may find me a bit biased about SSH in the examples. The examples covering the transfer of files between two computers use SSH as the medium of transport, but in a separate post I cover the use of rsync as a daemon.
Mon NAS Synology vient de mettre à jour son firmware DSM et je constate en lançant ma sauvegarde rsync que la connexion rsync vers le NAS ne se fait plus : après saisie du mot de passe, on obtient une erreur “permission denied”.
Voici comment remédier à ce petit désagrément en deux minutes montre en main.
on obtient le message d’erreur suivant, après saisie du mot de passe:
Permission denied, please try again.
rsync: connection unexpectedly closed (0 bytes received so far) [sender]
rsync error: error in rsync protocol data stream (code 12) at io.c(226) [sender=3.1.1]
Après vérification que les identifiants (user/password) sont bien corrects, il s’avère que la solution réside dans l’utilisation de l’argument --rsync-path afin d’expliciter le chemin de l’exécutable rsync présent sur le NAS.
Copy files or directories from one location to an another host by rsync.
If you’d like to set rsync automatically by cron or others, it need to configure like follows because authentication is required without settings. For example, Copy files or directories under the [/root/work] on dlp.srv.world to [/home/backup] on www.srv.world.
[1] Configure on source host.
root@dlp:~# apt-get -y install rsync
root@dlp:~# vi /etc/rsync_exclude.lst
# specify files or directories you'd like to exclude to copy
test
test.txt
[2] Configure on destination host.
root@www:~# apt-get -y install rsync
root@www:~# vi /etc/default/rsync
# line 8: change
RSYNC_ENABLE=true
root@www:~# vi /etc/rsyncd.conf
# create new
# any name you like
[backup]
# destination directory to copy
path = /home/backup
# hosts you allow to access
hosts allow = 10.0.0.30
hosts deny = *
list = true
uid = root
gid = root
read only = false
root@www:~# mkdir /home/backup
root@www:~# systemctl start rsync
[3] It’s OK. Execute rsync on Source Host like follows.
root@dlp:~# rsync -avz --delete --exclude-from=/etc/rsync_exclude.lst /root/work/ www.srv.world::backup
# Add in cron if you'd like to run reguraly
root@dlp:~# crontab -e
# for example, run at 2:00 AM in a day
00 02 * * * rsync -avz --delete --exclude-from=/etc/rsync_exclude.lst /root/work/ www.srv.world::backup
Fortunately, Mac Leopard users have a program called Time Machine that makes things a lot easier. But is Time Machine the perfect backup solution? I don’t think so. There are a couple of things that make Time Machine very unsuitable for me:
You need to get a seperate external hard drive that can only be used for Time Machine (and has to be formatted first)
That drive has to be formatted in HFS+, hence, without any (commercial) third-party plugins it’s not readable on Windows or Linux systems
You have to leave your drive on all the time to make sure Time Machine makes backups
You can’t make a list of things you want to have backed up, you can only exclude folders from your complete hard disk
Time Machine makes an exact copy of your hard drive
Especially that last ‘feature’ is very irritating to me. I have an external drive with about 300G of files, including lots of music and video files. My MacBook drive is only 80GB big, so i can never have the complete contents of my external drive on my MacBook. Let’s say i have 10GB of MP3 files, which i backup with Time Machine, then i remove about 5GB of files from my MacBook to free some space. What happens when the next backup round is happening? Exactly, the 5GB of files get deleted from the external disk as well. When i want to play a certain MP3 file from my external drive i now have to ‘restore’ and ‘look back in history’ to find it. Not very user-friendly.
Luckily, there is a very good (free) alternative to Time Machine that does exactly what i want with backups: it lets you specify which folders you want to backup, it doesn’t delete things on the backup drive when you delete files from your original drive, and it’s compatible with any external drive and can even backup files over a network. This piece of software is called rsync. Here’s how to use it.
rsync is a command-line utility shipped with every copy of Mac OS X. It originated from the UNIX/Linux world, where it has been part of most Linux distributions for many years. rsync is reliable, fast, and easily configurable. Try running it by opening up the Terminal.app (located in your Applications/Utilities folder) and running the command:
rsync
You’ll get an overview of all possible options. In essence the syntax is very simple:
rsync OPTIONS SOURCE DESTINATION
What you’ll probably want is a one-way transfer of all files in SOURCE to DESTINATION, where only files are copied that are not available on the DESTINATION disk or different. Aside from that you’ll want to include all subdirectories, links, permissions, date/time, groups, owner and devices. To do that simply use this easy-to-remember option list:
rsync -rlptgoD
Ha, just kidding! Fortunately there is another switch that does all of that with one switch, namely the archive switch:
rsync -a
So, let’s say you want to backup the files in your Documents directory to your external harddrive, which you appropriately named ‘backup’, then this would be the command:
rsync -a ~/Documents/ /Volumes/backup/Documents
For those of you who don’t use the Terminal very often: the tilde (~) is a shortcut for your home directory. If, for example, your name would be ‘Alice’ your home directory would probably be