I am a new Debian Linux v.7.x / Ubuntu Linux LTS user. How do I reinstall a package using apt-get command line?
The Advanced Packaging Tool (APT) works on both Debian / Ubuntu and it can handle the installation and removal of software. You need use apt-get command as follows to forcefully reinstall package. The syntax is:
apt-get --reinstall install PackageNameHere
OR
apt-get --reinstall install Package1 Package2
The --reinstall option re-install packages that are already installed and at the newest version.
Pro tip: Backup configuration files before you reinstall packages. For example, if you are reinstalling nginx web server package, backup /etc/nginx/ with cp command i.e. mkdir /root/nginx.mmddyyyy/; cp -avr /etc/nginx/* /root/nginx.mmddyyy/
Examples
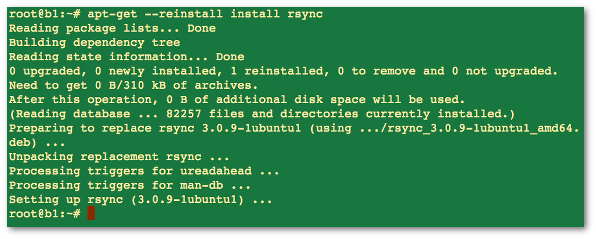
The following command will reinstall rsync package. Open a terminal and then type: $ sudo apt-get --reinstall install rsync OR # apt-get --reinstall install rsync Sample outputs:
Fig.01: Debian / Ubuntu Linux reinstall a package using apt-get command
If above method failed for you, try the following syntax. Make sure you backup config file before typing the following commands. Please note that the --purge option is identical to remove except that packages are removed and purged including any configuration files are deleted too.
Both Debian and Ubuntu Linux provides a number of package management tools. This article summaries package management command along with it usage and examples for you.
apt-get : APT is acronym for Advanced Package Tool. It supports installing packages over internet using ftp or http protocols. You can also upgrade all packages in a single operations, which makes it even more attractive.
dpkg : Debian packaging tool which can be use to install, query, uninstall packages.
Gui tools: You can also try GUI based or high level interface to the Debian GNU/Linux package system. Following list summaries them:
aptitude: It is a text-based interface to the Debian GNU/Linux package system.
Red hat Linux package names generally end in .rpm, similarly Debian package names end in .deb, for example:
apache_1.3.31-6_i386.deb
Where,
apache : Package name
1.3.31-6 : Version number
i386 : Hardware Platform on which this package will run (i386 == intel x86 based system)
.deb : Extension that suggest it is a Debian package
Remember, whenever I refer .deb file it signifies complete file name, and whenever I refer package name it must be first part of .deb file. For example, when I refer to a package sudo it means sudo only and not the .deb file i.e. sudo_1.6.7p5-2_i386.deb. You can find out debian package name with the following command:
Finally, most of the actions listed in this post are written with the assumption that they will be executed by the root user running the bash or any other modern shell. Lire la suite…
I setup a web-server. I need to grant a user ssh access but I do not trust users. How can I limit user session to a specific directory such as /home/httpd/$USERNAME? How do I set up a ssh chroort jail on a Linux operating systems?
You can interactive shell with special root directory on a Linux or Unix-like systems. You can set the pathname (such as /home/httpd/foo) of a directory to chroot to after authentication. All components of the pathname must be root owned directories that are not writable by any other user or group. After the chroot, sshd changes the working directory to the user’s home directory.
Say hello to ChrootDirectory directive
From the sshd_config man page:
The ChrootDirectory must contain the necessary files and directo ries to support the user’s session. For an interactive session this requires at least a shell, typically sh(1), and basic /dev nodes such as null(4), zero(4), stdin(4), stdout(4), stderr(4), arandom(4) and tty(4) devices. For file transfer sessions using « sftp », no additional configuration of the environment is necessary if the in-process sftp server is used, though sessions which use logging do require /dev/log inside the chroot directory.
IPTables regroupe les lignes de commandes nécessaires à la gestion de Netfilter. Oui mais que fait Netfilter ? Pour les anglophones, vous aurez remarquer que dans Netfilter, il y a Net et il y a Filter donc à priori ça va parler d’Internet et de filtrage. Et qui dit filtrage, veut dire Firewall.
Voilà le mot est laché ! Le couple Netfilter/IPTables permet de faire du filtrage de port grâce à des règles de pare-feu. Il sera alors possible de bloquer certains paquets IP et de laisser passer ceux qui nous intéressent. Par exemple par le port 80 (le port pour http), le trafic Internet sera possible et votre navigateur préféré vous emmènera sur les autoroutes du savoir offert par Internet. Lire la suite…
Zsync is an opensource file transfer utility built on top of rsync algorithm. This helps to download partial/differential files over the HTTP protocol. The utility allows downloading only new parts of a file from a centralized location, where the older version of the file is already within your computer.
While rsync is for syncing data from one computer to another, zsync allows file distribution, where the file hosted in a server using any web server can be distributed to many and downloaded seamlessly.
How it works
The command-line utility will do all the differential calculations in the client, instead of doing it in the server as in rsync. Server metadata will be created only once and stored as part of the control file. And rest of the operations and decision making will be handled by the client-side application. This will reduce the huge processing needed on the server-side, even when thousands of clients are trying to fetch the file.
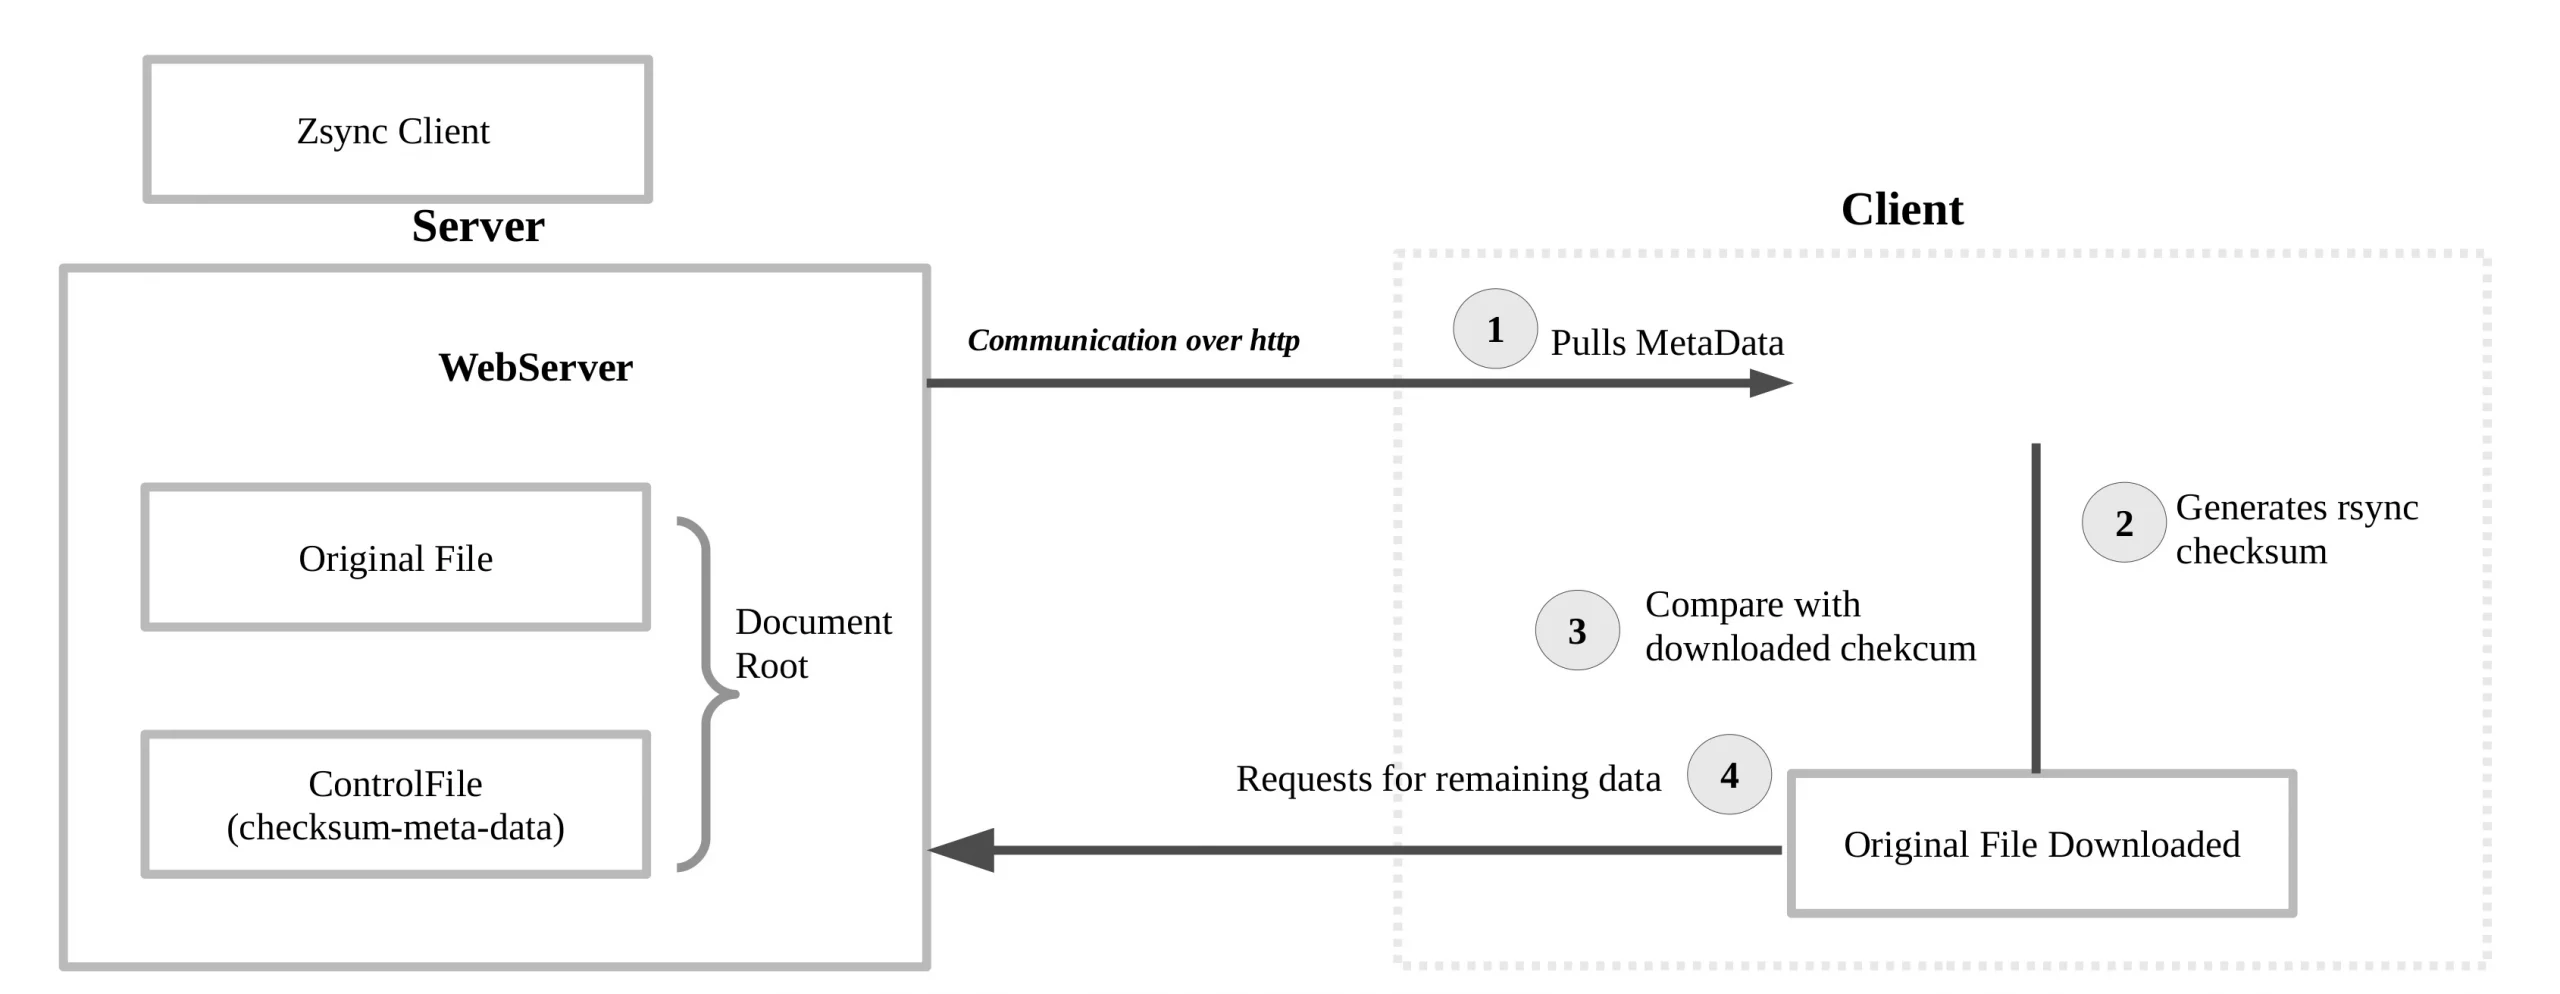
Zsync WorkFlow
Server
The server will calculate the checksum and create the control file in advance. This contains checksums, block size of the file, length and file permissions. Since the rest of the comparisons happens at the client-side, there aren’t any checksum calculations happening on the server, and each time the client requests for data.
Client
The Zsync client is written in “C”, and capable of pulling the metadata from the server first. This will compare with the current files checksum data (generated by rsync) and requests the remaining data from the server. Lire la suite…